SpringBoot教程
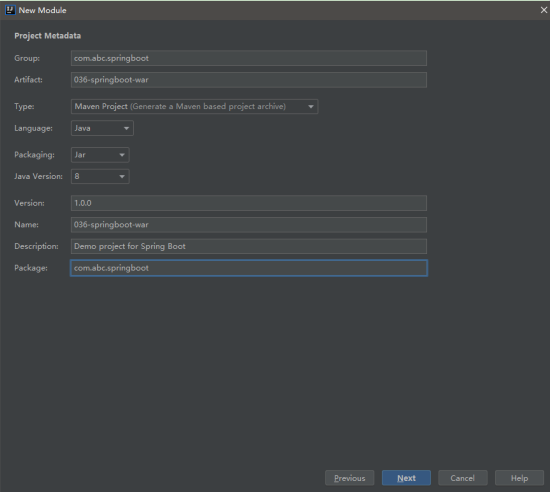
项目名称:036-springboot-war
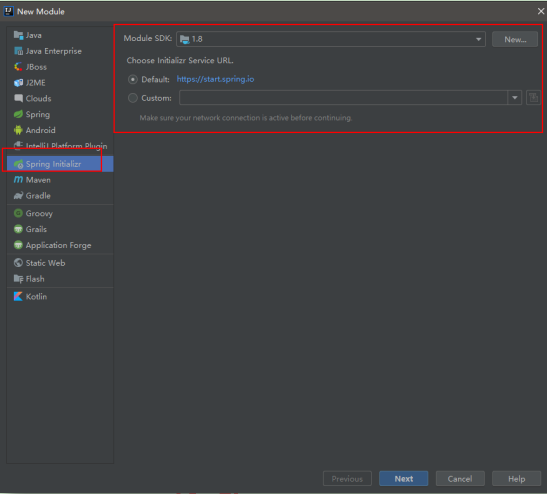
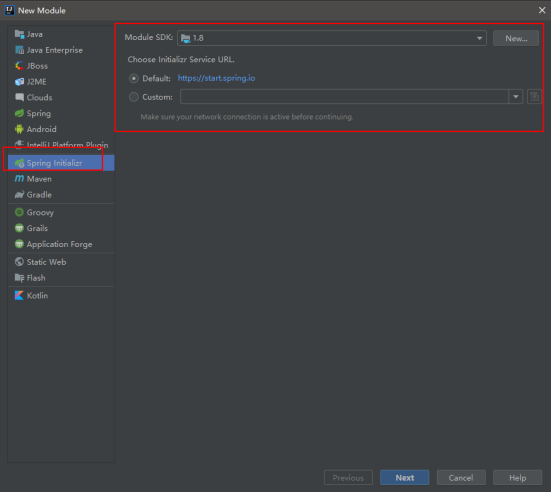
1.创建一个新的Module

2.在pom.xml文件中配置内嵌Tomcat对jsp的解析包
<!--SpringBoot项目内嵌tomcat对jsp的解析包-->
<dependency>
   <groupId>org.apache.tomcat.embed</groupId>
   <artifactId>tomcat-embed-jasper</artifactId>
</dependency>
3.在pom.xml文件中配置jsp文件解析目录
<!--
    SpringBoot要求jsp文件必须编译到指定的META-INF/resources目录下,否则不能访问
-->
<resources>
    <resource>
        <!--源文件位置-->
        <directory>src/main/webapp</directory>
        <!--指定编译到META-INF/resources目录下,该目录不能随便编写-->
        <targetPath>META-INF/resources</targetPath>
        <!--指定包含文件-->
        <includes>
            <include>**/*.*</include>
        </includes>
    </resource>
</resources>
4.创建webapp并指定为web资源文件夹
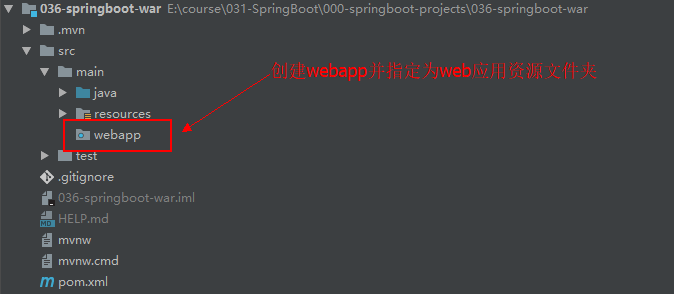
5.在application.properties配置文件中配置内嵌Tomcat端口号及上下文根和jsp的前后缀
#设置内嵌Tomcat端口号
server.port=9090
#设置应用的上下文根
server.servlet.context-path=/036-springboot-war


#设置jsp的前/后缀
spring.mvc.view.prefix=/
spring.mvc.view.suffix=.jsp
6.创建IndexController提供方法分别返回字符串及跳转页面
package com.abc.springboot.web;

import org.springframework.stereotype.Controller;
import org.springframework.ui.Model;
import org.springframework.web.bind.annotation.GetMapping;
import org.springframework.web.bind.annotation.ResponseBody;

import javax.servlet.http.HttpServletRequest;

/**
 * ClassName:IndexController
 * Package:com.abc.springboot.web
 * Description:

 */
@Controller
public class IndexController {

    @GetMapping(value = "/springboot/index")
    public String index(HttpServletRequest request, Model model) {
        model.addAttribute("data","Hello SpringBoot JSP");
        return "index";
    }

    @GetMapping(value = "/springboot/data")
    public @ResponseBody Object data() {
        return "SpringBoot Data ";
    }

}
7.在src/main/webapp目录下创建index.jsp
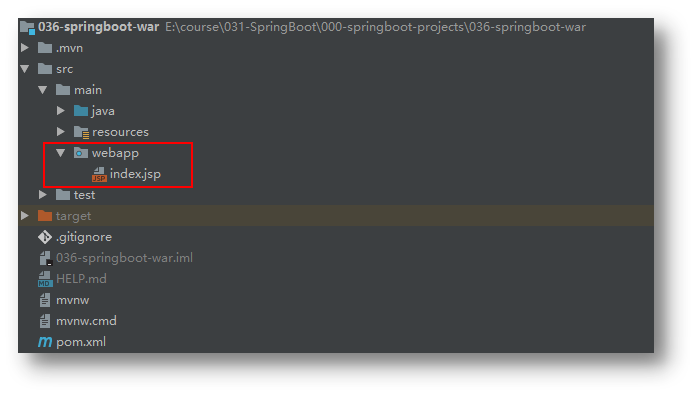
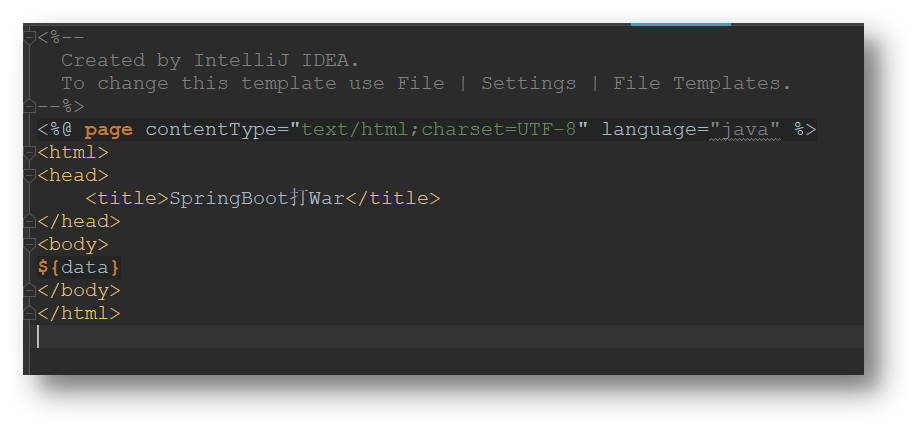
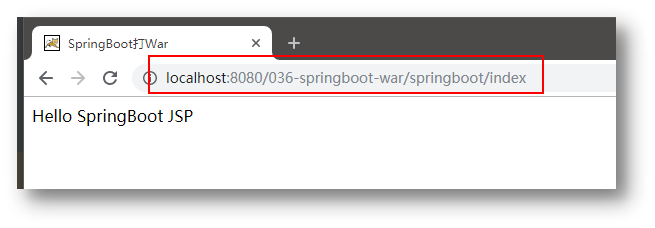
8.浏览器输入地址访问测试

1.程序入口类需扩展继承 SpringBootServletInitializer类并覆盖configure方法
@SpringBootApplication
public class Application extends SpringBootServletInitializer{
   public static void main(String[] args) {
      SpringApplication.run(Application.class, args);
   }
   @Override
   protected SpringApplicationBuilder configure(SpringApplicationBuilder builder) {
//参数为当前Spring Boot启动类Application.class
      return builder.sources(Application.class);
   }
}
2.在 pom.xml中添加(修改)打包方式为war
<packaging>war</packaging>
3.在 pom.xml中配置springboot打包的插件(默认自动加)
<!--SpringBoot 的打包插件-->
<plugin>
   <groupId>org.springframework.boot</groupId>
   <artifactId>spring-boot-maven-plugin</artifactId>
</plugin>
4.在pom.xml中配置将配置文件编译到类路径
<!--mybatis的mapper.xml-->
    <resource>
        <directory>src/main/java</directory>
        <includes>
            <include>**/*.xml</include>
        </includes>
    </resource>
    <!--src/main/resources下的所有配置文件编译到classes下面去-->
    <resource>
        <directory>src/main/resources</directory>
        <includes>
            <include>**/*.*</include>
        </includes>
    </resource>
    <resource>
        <!--源文件位置-->
        <directory>src/main/webapp</directory>
        <!--编译到META-INF/resources,该目录不能随便写-->
        <targetPath>META-INF/resources</targetPath>
        <includes>
            <!--要把哪些文件编译过去,**表示webapp目录及子目录,*.*表示所有-->
            <include>**/*.*</include>
        </includes>
    </resource>
5.在pom.xml的build标签下通过finalName指定打war包的名字
<!--指定打war包的名字-->
<finalName>036-springboot-war</finalName>
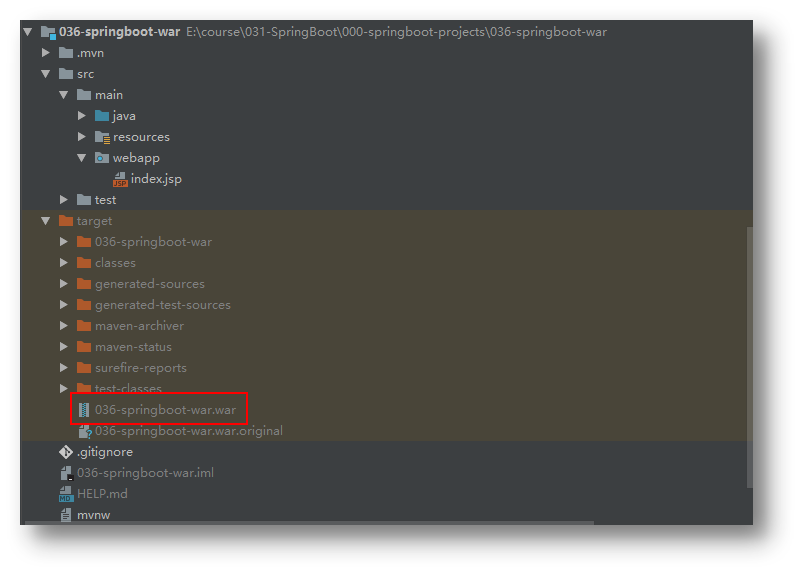
6.通过Maven package命令打war包到target目录下
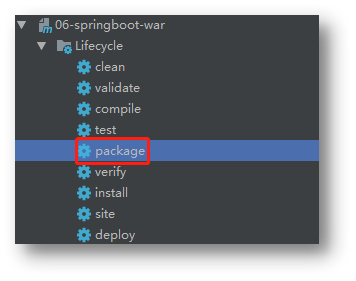
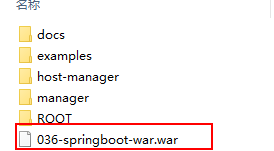
1.将target目录下生成的war包拷贝到tomcat的webapps目录,并启动tomcat
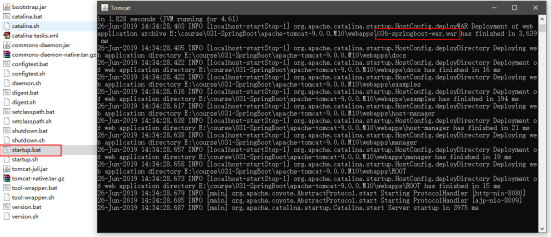
2.通过浏览器访问
